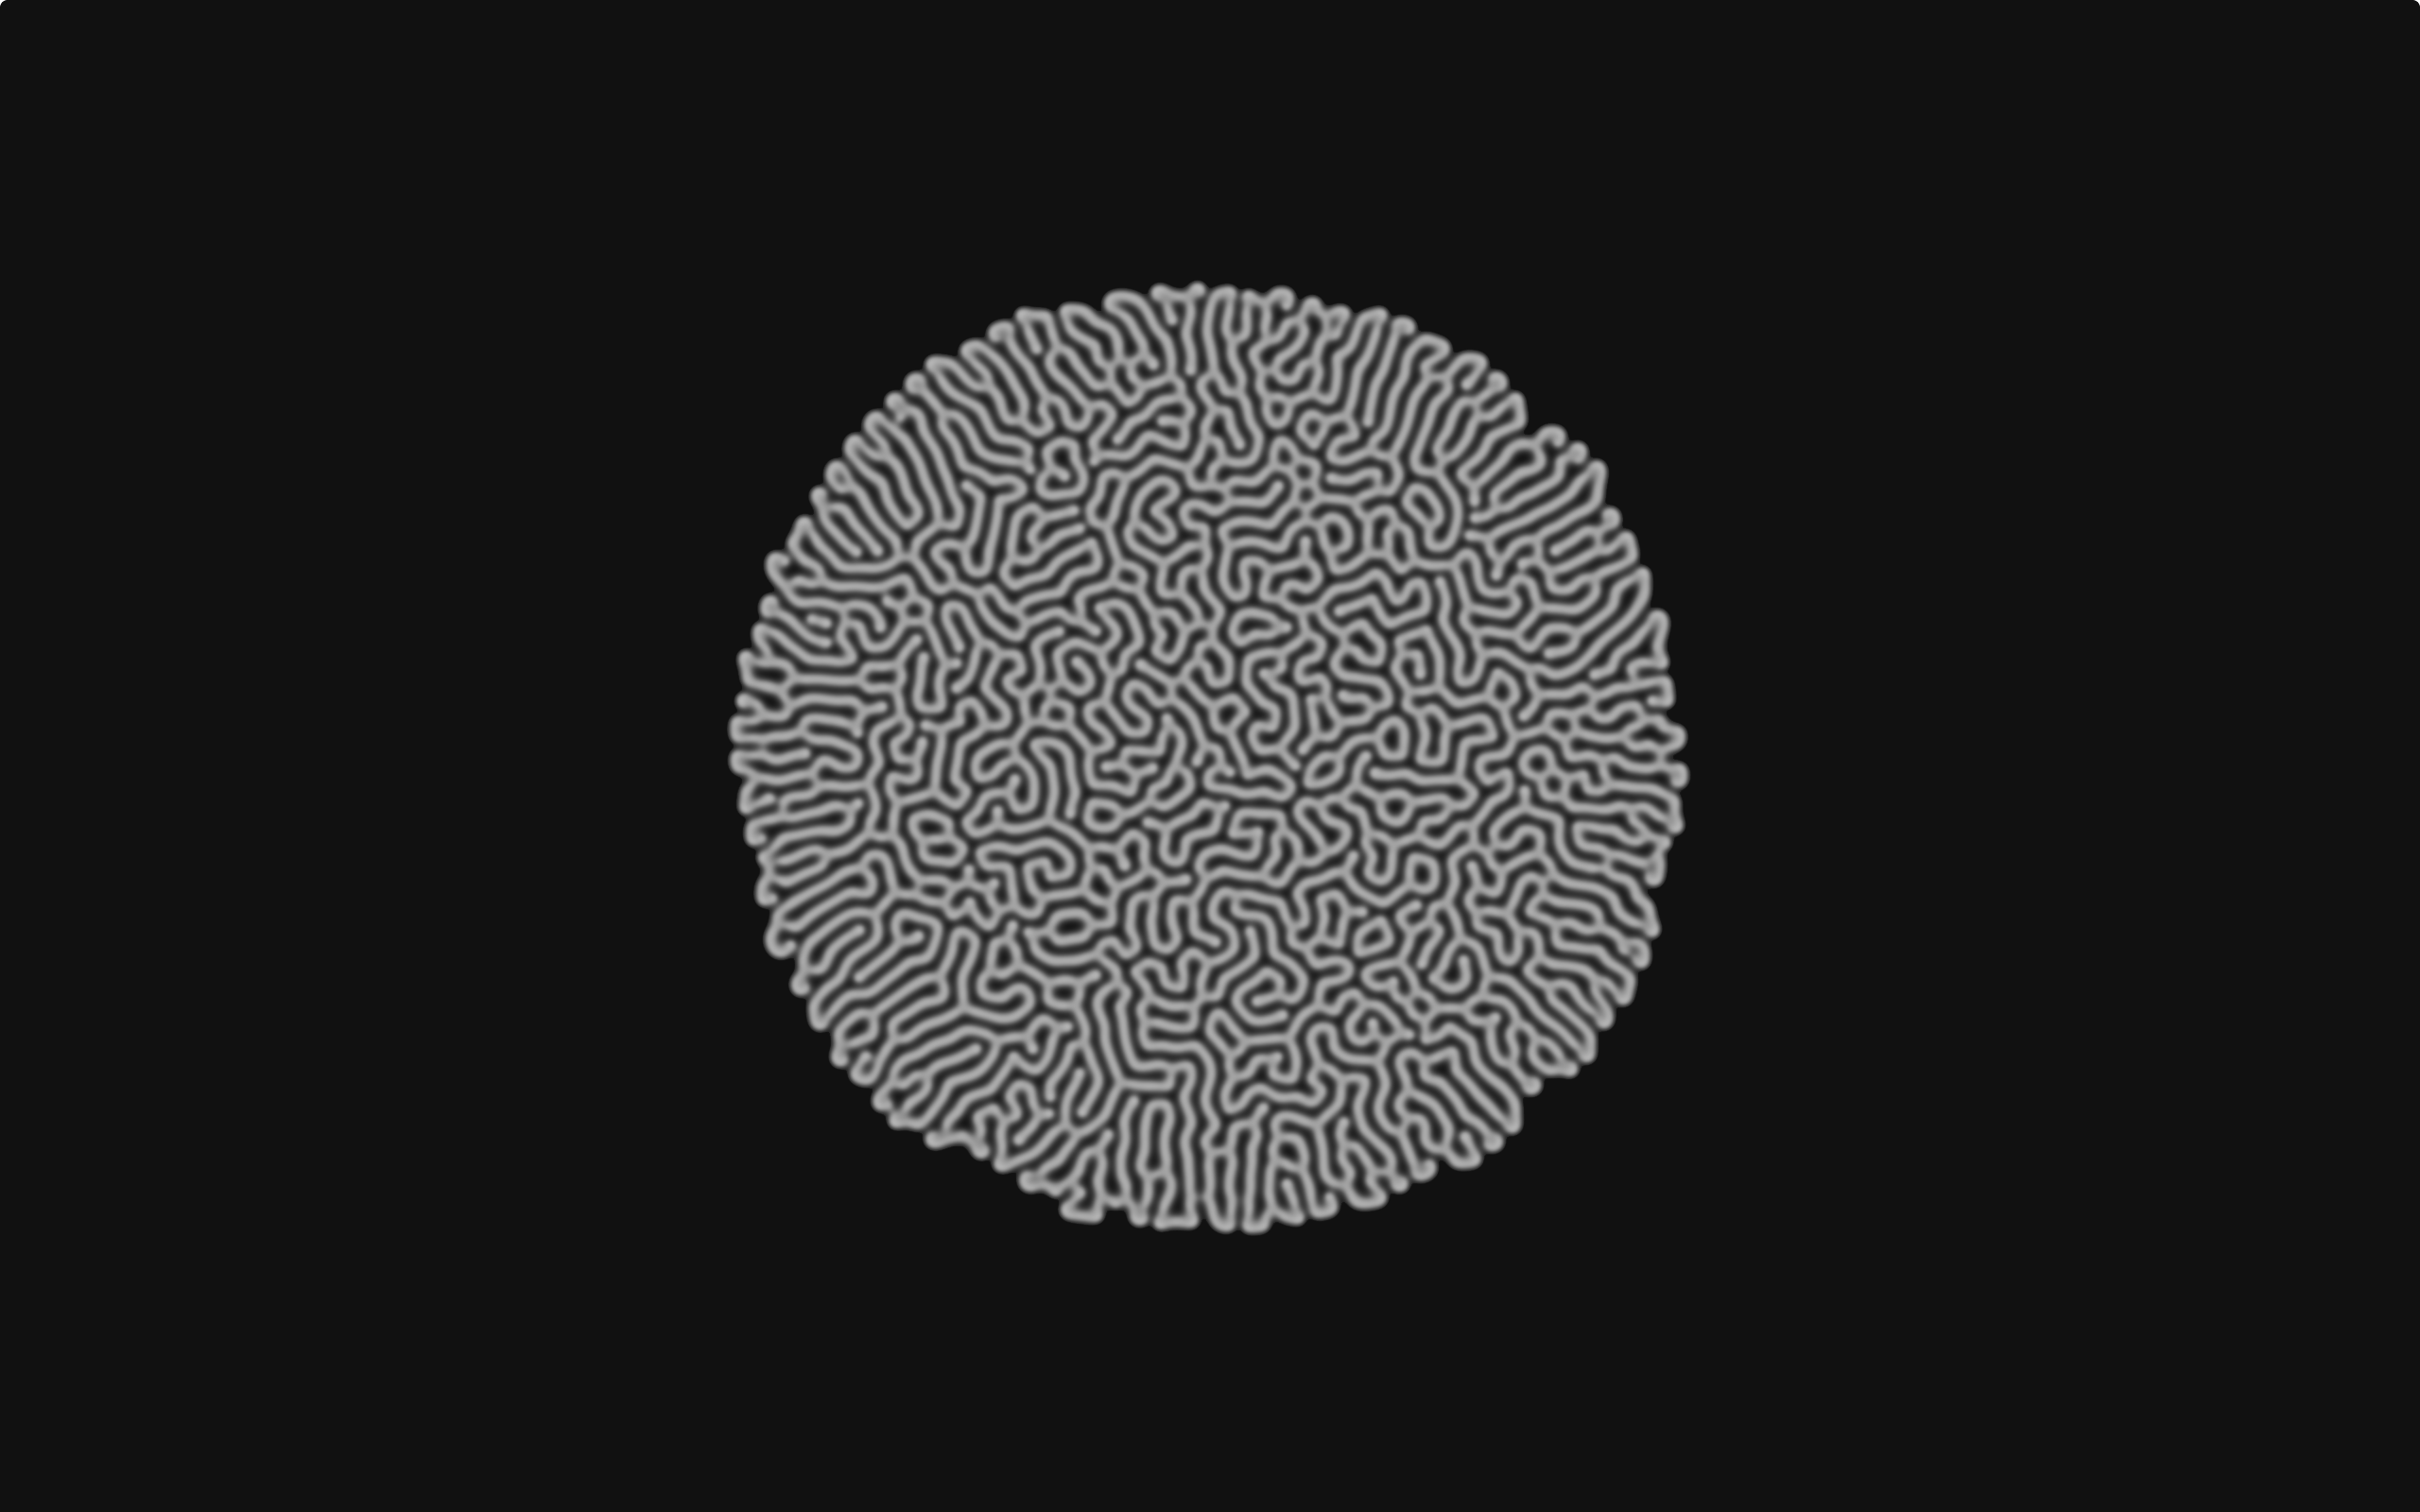
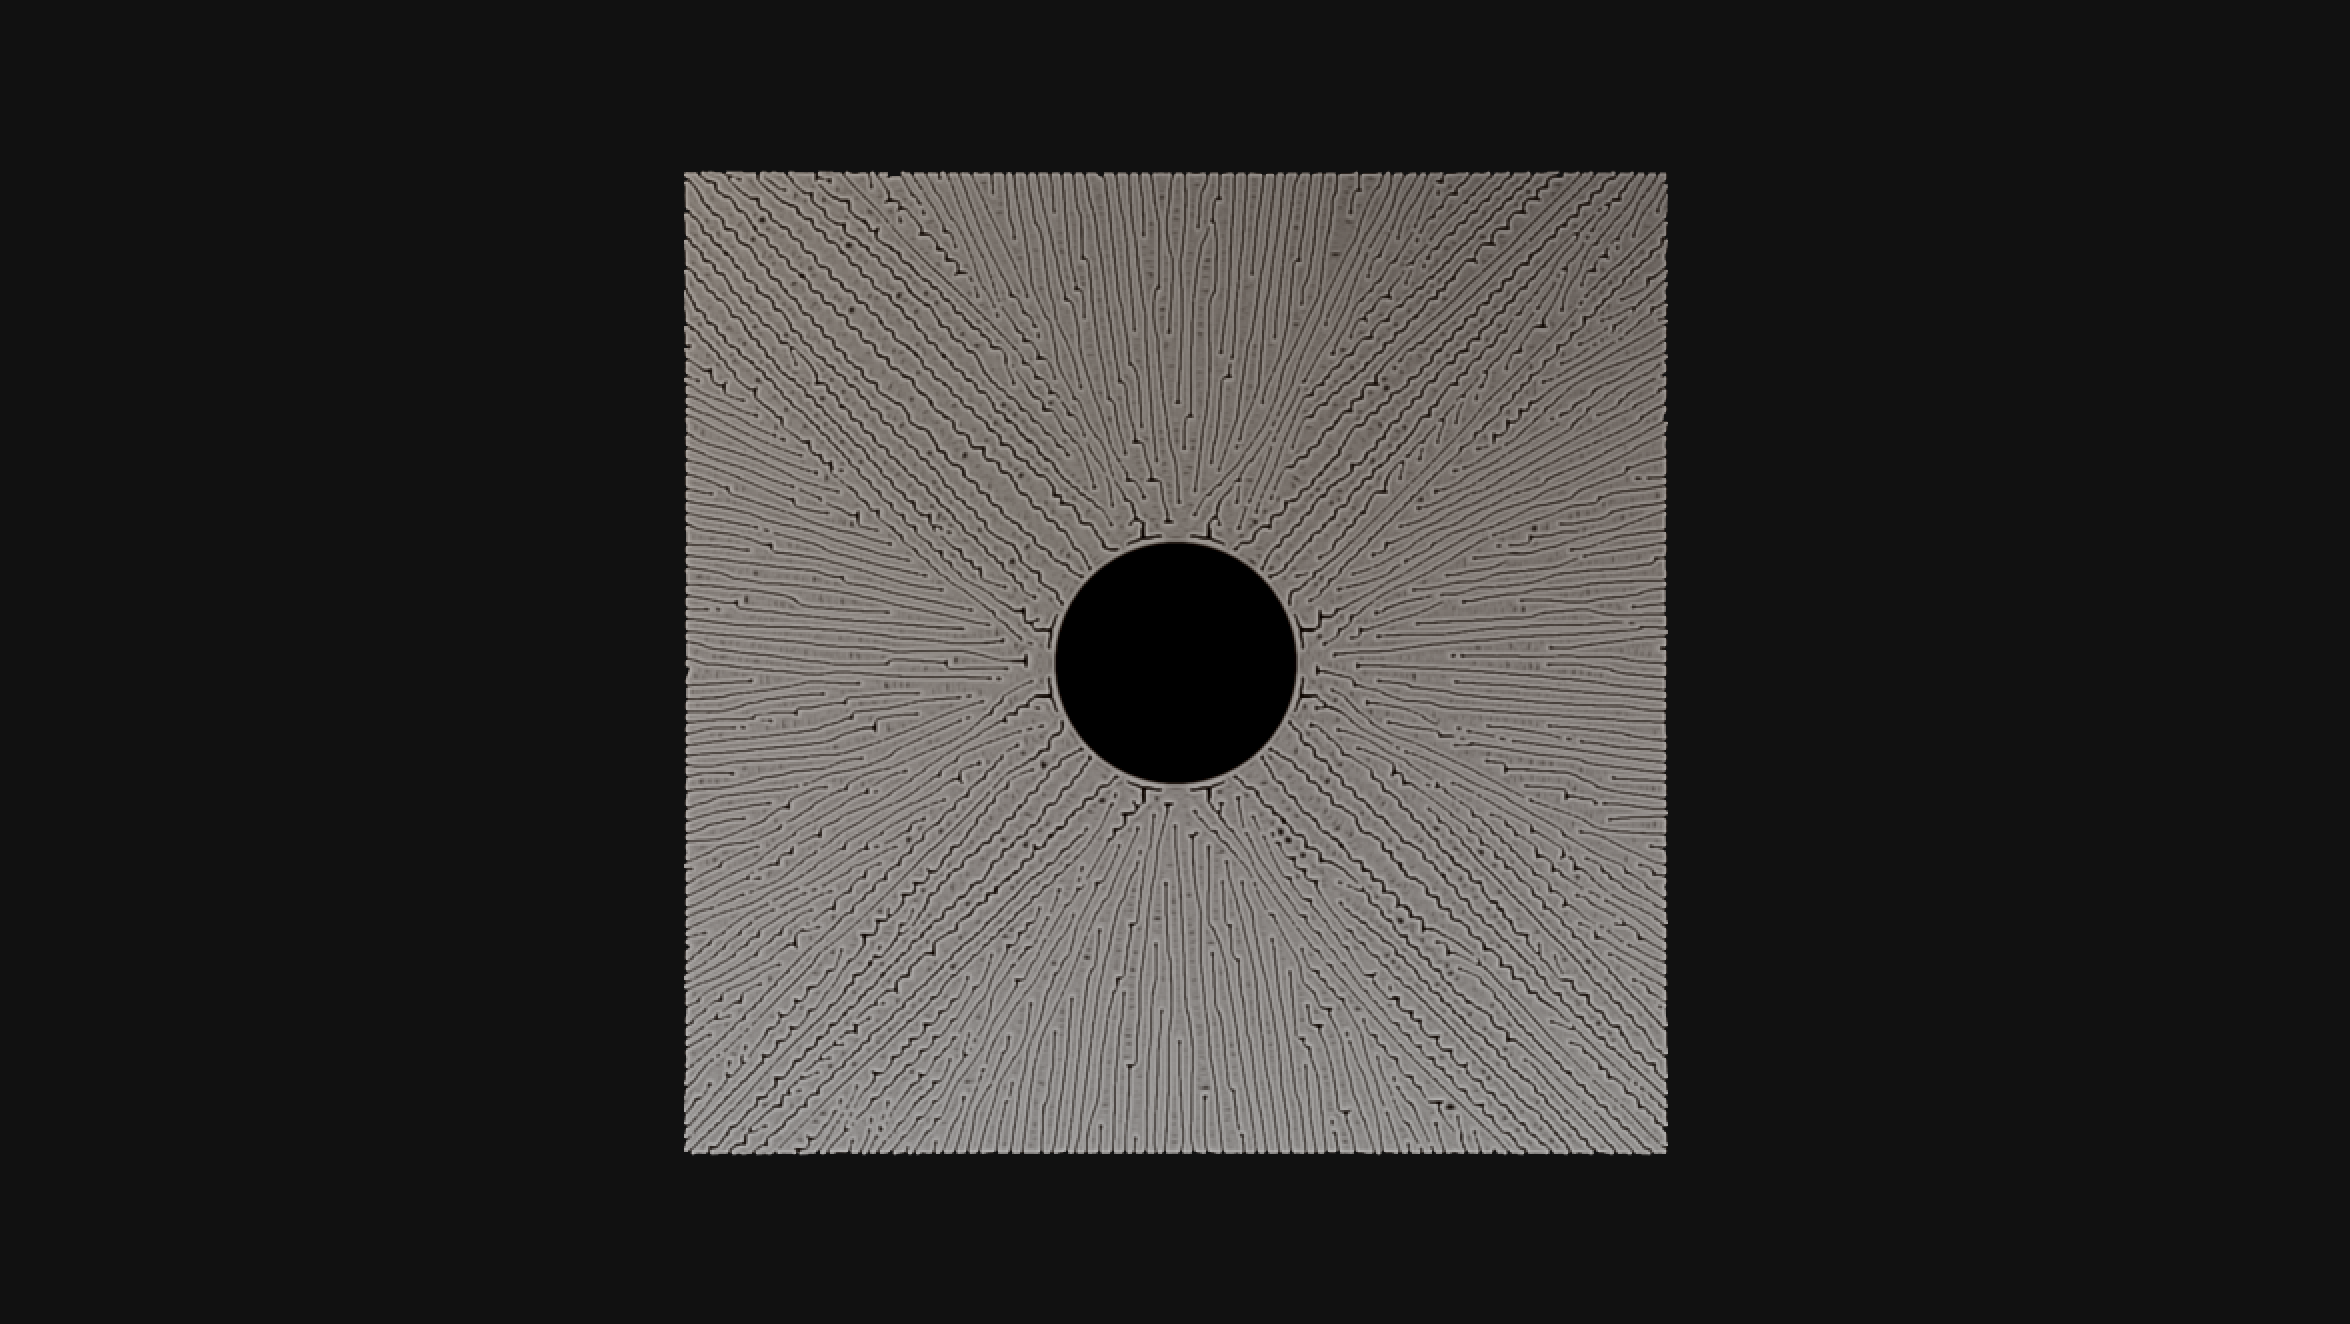
Reaction Diffusion in Unity
Update 2018: Use custom render textures instead!
I’ve always been fascinated with reaction diffusion patterns, so I decided to implement them in order to improve my understanding of the rules that generate these complex patterns. I still have a lot to learn, but wanted to share my implementation.
After prototyping a version on Shadertoy, I decided to implement them in Unity, in hopes I can use them with live visuals, games, and other projects. I saw Keijiro’s implementation using new custom render textures, but I typically don’t use beta Unity versions. This looks very sophisticated though, and look forward to using it soon.

What is Reaction Diffusion?
I like to think of Reaction Diffusion simulations as a computational cousin of Cellular Automata. If you’re new to the topic, I suggest checking it out as a prerequiste.
The basic idea with Reaction Diffusion is that 2 competing chemicals are simulated on a 2D grid, which spread out (diffuse) based on a few rules and rates.
- Diffusion rates. These influence the chemical spreading out with respect to how much of itself is in the surrounding cells, which is represented in a laplacian matrix.
- How much of the opposite chemical is on the same cell.
- A feed rate for chemical A and a kill rate for chemical B.
I used the Gray-Scott Model equations from Karl Sim’s Reaction Diffusion Tutorial. If you’re interested in the theory, I highly recommend you read that.

Implementation
We will be utilizing fragments shaders for the simulation space. The 2 chemicals are stored as floats in the red and green channels. We will separate the simulation and display in different shaders.
One problem that I ran into on Shadertoy, that I fixed in Unity, was the number of passes per frame. The simulation can be slow to diffuse if you only use one pass per frame. To address this, I render the simulation to a render texture several times per frame.
To kick off the simulation, a base texture must be generated to set the initial conditions. I just used a signed distance 2d sphere, but you can use whatever you want. A fun idea might be to use the camera’s depth texture. A good base condition is to set all of the red channel to 1.0, and green to 1.0 where you want the simulation to start from.
After the texture is generated, I assign it to a display material with a shader that just sets the rgb values to the red channel of the simulation texture.
The shader code for the actual diffusion can be found here, and you can checkout the whole project here.

–
Thanks for reading! If you have any questions, please send me an email.