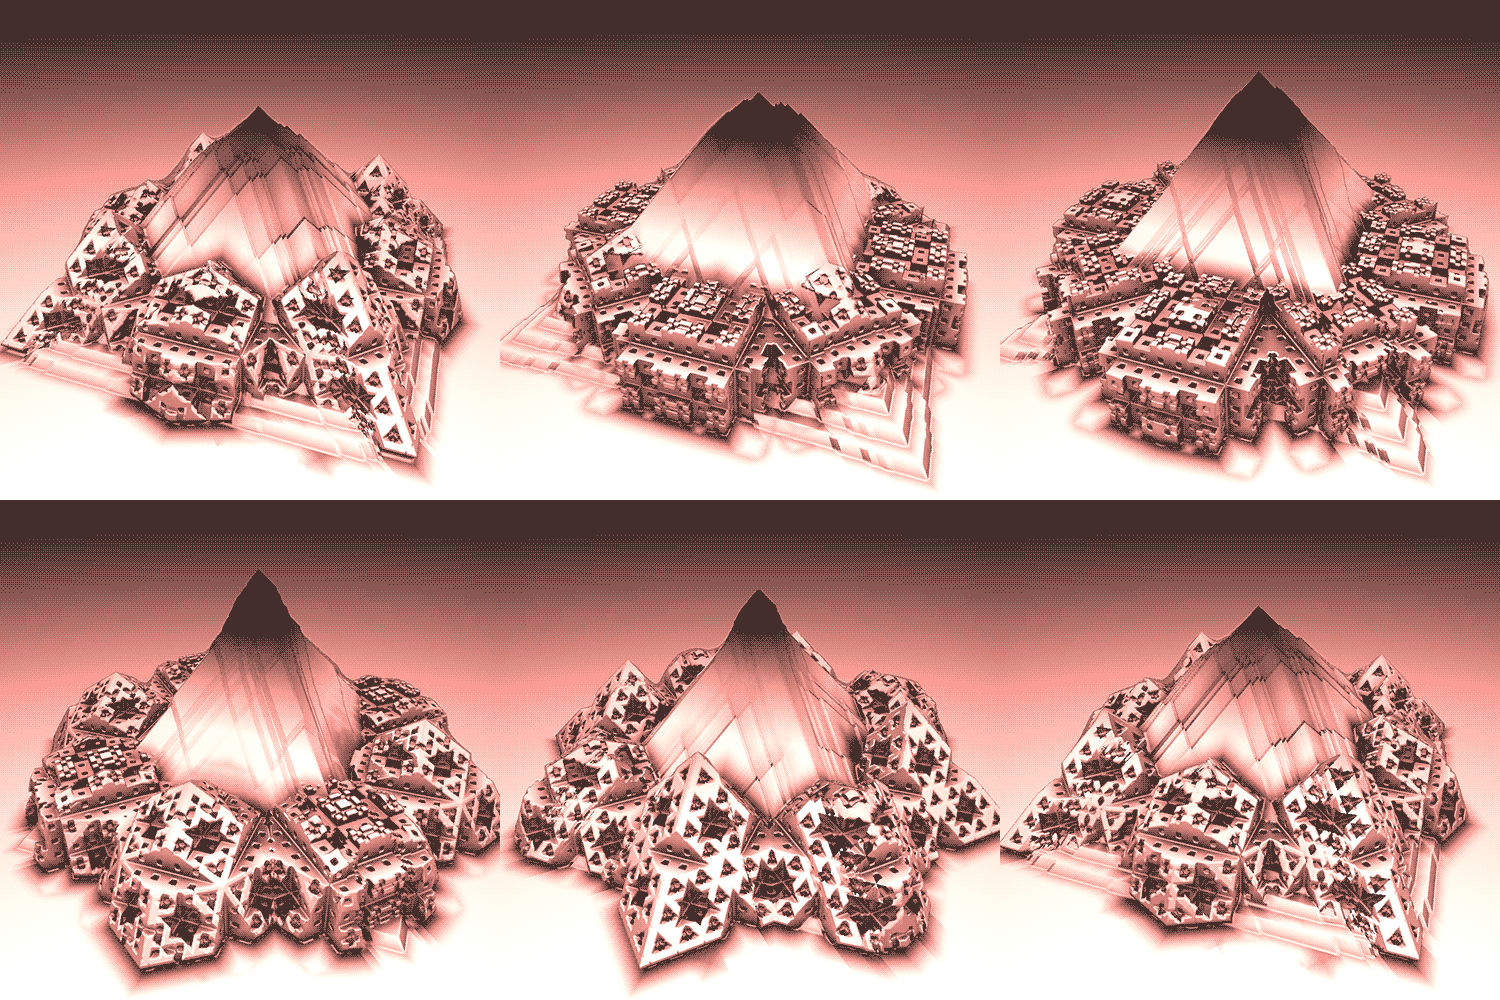
Studies on Raymarching Gif Creations
Overview
This post documents some tips and tricks i’ve learned while making perfect looping gifs of 3d geometry in fragment shaders. This won’t cover any raymarching theory, but some concepts are fairly general.

Tools and Resources
To start things off, here’s some invaluable resources I’ve learned from:
Cabbibo’s raymarching tutorial
IQ’s Distance functions and raymarch code
Thomas Hooper’s Geodesic Tiling
Shadertoy Frame Exporter by Thomas Hooper
Animation
It’s super important to me that gifs loop perfectly. One of the ways to accomplish this is to oscillate animation parameters between two values.
To generate a basic oscillating parameter, feed a time variable into a sine or cosine function. This will return a value that oscillates between -1.0 and 1.0.
It’s often useful to multiply the result by a constant to change the range in which it fluxuates. This is called the amplitude.
By setting the amplitude of the sin function by 0.1, and adding 0.5, the size variable fluctuates between 0.4 and 0.6.
float size = 0.5 + sin(iGlobalTime) * 0.1;The total time for a single oscillation is called the period. The period of a non-scaled time is 3.14159*2 seconds. I typically scale time by 2.0 or 4.0 to yield a period of 3.14159 and 1.570795 respectively. This is to cut down on the amount of frames in a 30FPS animation, as I have to work with gif size upload constraints on platforms such as Tumblr.
Tricks
Here’s some techniques I commonly use.
Feedback Loops: The concept of feedback loops is to blend the previous frame with the current one. I use them to generate motion trails for an object. Press play to see it in action.
In order to achieve a trailing effect, the last frame has to have a decay value, so it fades with each pass.
To make a rainbow trail, you can apply a hue-shift function to the color of the last frame before blending it. This propagates the effect through each loop, producing a rainbow-like effect.
To add even more motion, transform the uvs of the texture you sample. I like to convert catesian space to polar space, multiply the length by a noise value, and then convert back into cartesian.
To get a perfect loop from this, you must “warm up the feedback loop” by saving twice the amount of frames than the loop period, and then use the second half of the frames.
I’ve commented the code in the shadertoy to explain it step-by-step in Buffer B.
Multi-Sampling: I accidentally created a cool effect while messing with some depth of field code.
The idea behind this one is to compute a color average around a circle of the current point, and apply a hue shift based on the angle around the circle. Check out buffer B in the shadertoy above to see details.
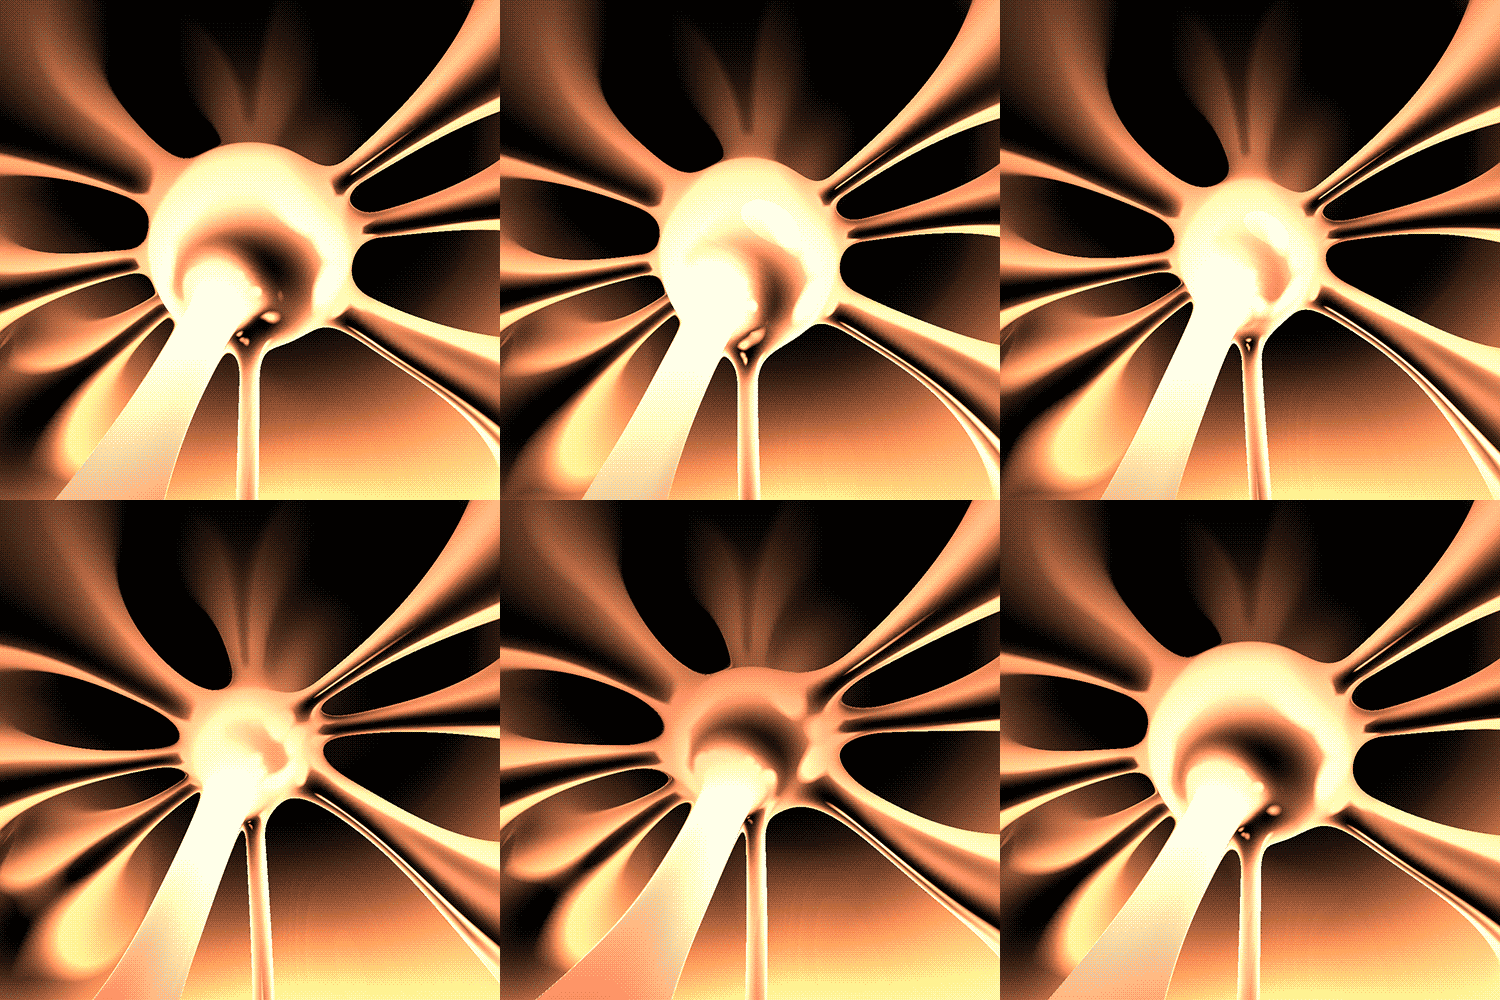
Negative Signed Distance: By negating the computed distance field, you turn the shape “inside-out”. The caveat of this is you can’t leave the space without being inside of the object. I usually use this technique in conjunction with a soft-minimum sdf union function to make organ-like shapes like this:

Position Offseting: Dividing the space into cells and offsetting the position on an axis by a certain amount based on what cell it’s in, can create some cool effects. This technique produces artifacts, since it creates a non-continuous surface, but if the displacements have small enough differences, you can typically get away with it.
Looping noise: I loop fog and water ripples this way. The concept is just have two noise functions running. One implementing a regular time variable, and the other using time subtract the period of the gif. Then, lerp between the two, to end up where you started.
float time = mod(iGlobalTime, 3.14159);
float fog = mix(fog(ro, rd, time), fog(ro, rd, time-3.14159), time/3.14159);
–
That’s all for now. If you have any questions, please send me an email.